Sublimation Paper for Dark Cotton T-Shirts
From: $69.95
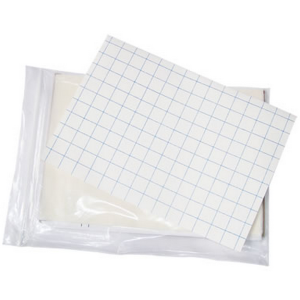
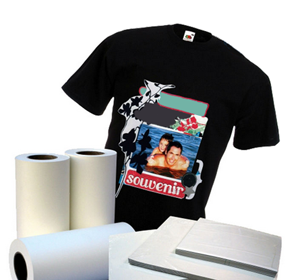
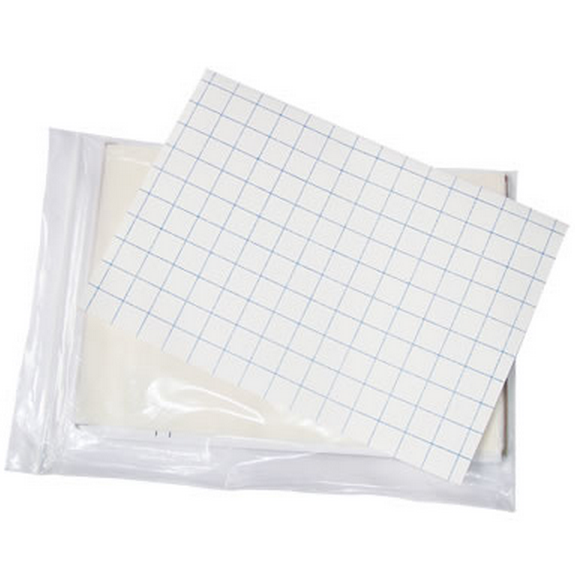
Sublimation paper for dark cotton fabric.
Sublimation paper for dark cotton fabrics
Paper for dark or black fabrics only. Cotton and cotton blends will not bind sublimation ink and so therefor other papers are required. Our sublimation paper for cotton fabrics allows you to print to the paper and then press the paper to the cotton shirt.
Very easy to use.
Unlike standard sublimation paper used for pure polyester this paper will leave a medium to light but soft hand on the fabric.
All sheets come as 11″ x 17″. If you fold the sheets in half and cut on the fold they be can be used as 8.5″ x 11″
Designed for the inkjet heat transfer printing of photos and images to dark colored T-shirts, sweatshirts, mouse pads, puzzles and leather goods. This product can be die-cut or kiss-cut and moved with tape.
COMMERCIAL PRESS INSTRUCTIONS
PRINTING INSTRUCTIONS:
1. Print right reading image on the coated side of the paper. (NO mirroring/reversing of the image).
2. Trim away the unprinted areas of the transfer.
3. Peel the paper backing from the transfer film.
PRE-TRANSFERRING INSTRUCTIONS:
1. Prepare the substrate by ensuring the surface is clean, dry and wrinkle free.
TRANSFERRING INSTRUCTIONS:
1. Place image on top of garment with image facing up (right reading to you).
2. Completely cover the image with ironing sheet.
3. Press 30 seconds @ 350°F using medium pressure.
4. Peel away ironing sheet once cold in a smooth even motion.
5. For best “hand”, stretch the garment. WASHING INSTRUCTIONS: Turn garment inside out and wash in cold water using a mild detergent. Do not use bleach. Dry on low-heat setting. Do not iron directly on the transferred area.
IMPORTANT: Heat presses vary in accuracy. If you are unsure of the press temperature use a infrared gun to test the press for accurate temperatures.
HAND IRONING INSTRUCTIONS:
PRINTING INSTRUCTIONS:
1. Print right reading image on the coated side of the paper
(NO mirroring/reversing of the image).
2. Trim away the unprinted areas of the transfer.
3. Peel the paper backing from the transfer film.
PRE-TRANSFERRING INSTRUCTIONS:
1. Preheat iron to highest setting – do NOT use steam (empty all water).
2. Iron on a SMOOTH HARD surface; do NOT use an ironing board.
3. Place a pillowcase on the surface and iron the pillowcase removing any wrinkles.
4. Place substrate on pillowcase and iron it to remove wrinkles.
TRANSFERRING INSTRUCTIONS:
1. Place image on top of garment with image facing up (right reading to you).
2. Completely cover the image with ironing sheet.
3. Using 2 hands, using heavy pressure slide the iron up and down (vertically) over the entire image for 90 seconds, then repeat going from left to right (horizontally) for 90 seconds.
4. Peel the ironing sheet off the image approximately 2 minutes after completion of ironing. *For smaller transfers one-half or less, the ironing time is reduced to ironing vertically 45 seconds and horizontally 45 seconds. If the transfer area is smaller than the iron, iron for 30 seconds with heavy pressure.
IMPORTANT:
We thoroughly test each of our products on various substrates using different transfer equipment. However, it is impossible for us to duplicate all variables using all substrates and transfer equipment. Therefore, it is essential that you test the paper prior to production using your equipment, methods, and substrate material. Heat presses vary in accuracy. Conduct tests to determine the best time and temperature to use with your equipment. Please keep in mind that the Seller’s and Manufacture’s maximum obligation shall be to replace any paper that has proven to be defective. Neither the Seller nor the Manufacturer shall be liable for any injury, direct or consequential, arising out of the use of, or inability to use this paper.
| SELECT PAPER QUANTITY | 25 sheets 11” x 17”, 50 sheets 11” x 17”, 100 sheets 11” x 17”, 250 sheets 11” x 17”, 500 sheets 11” x 17” |
|---|


